Changing Contact Passwords
Overview
There are a number of situations in which a contact may struggle to change their password. Perhaps they have lost their password, are not receiving emails from your Kore Commerce system, or are otherwise just looking for aid in changing their it.
Whatever the reason, there are multiple methods of changing in your Kore Commerce site. The four primary methods of doing so include:
-
The Personal Password Change Method
-
The Forgot Password Method
-
The Administrator Change Password Method
-
The Administrator Force-Change Password Method
Each of these methods will be explained in detail in the sections below:
The Personal Password Change Method
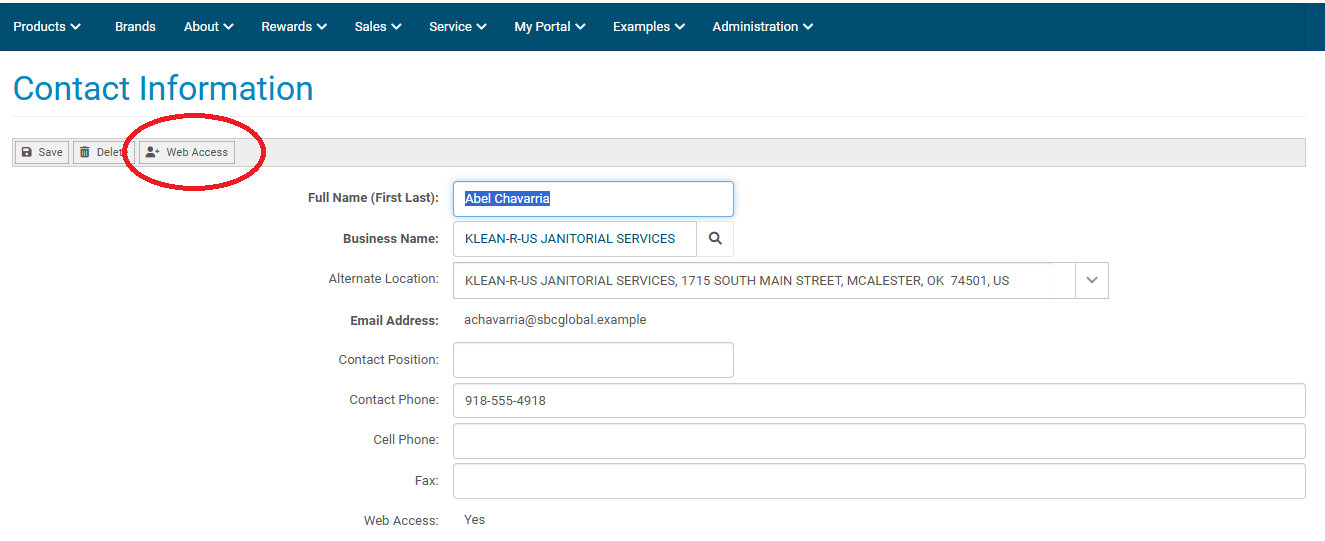
The most straightforward way of changing a contact’s password on your Kore Commerce site is to have them do it themselves. They can do this by navigating to their personal Contact Definition page, then clicking the Change Password button. The Change Password button is circled in the image below:
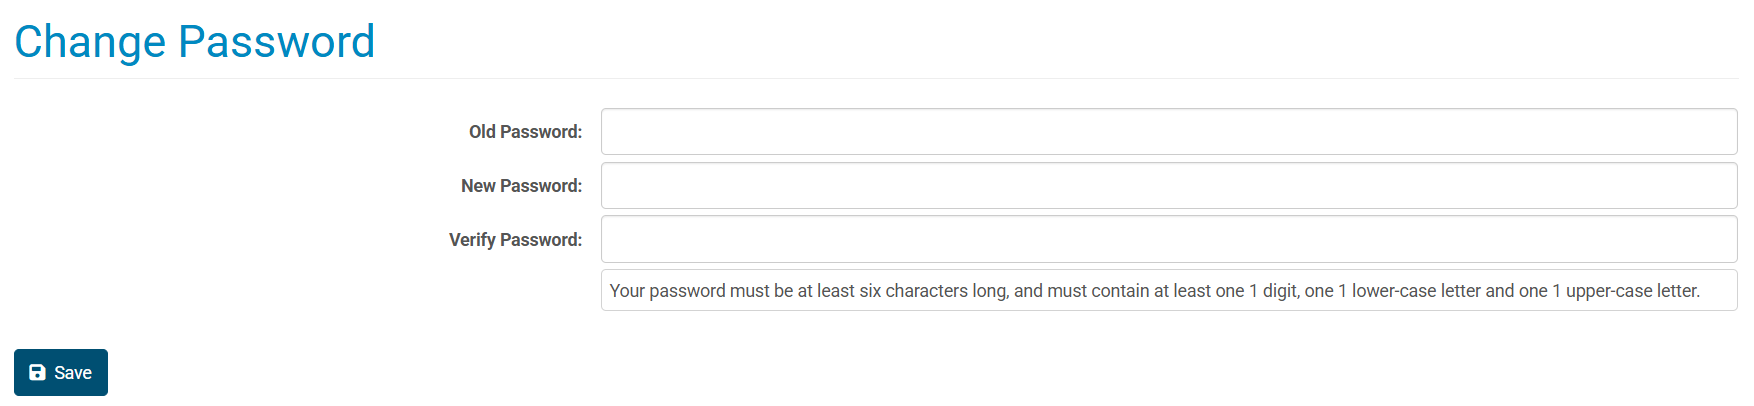
After clicking this button, the contact will be directed to the Change Password page. Here, they will be able to enter their old password and create a new one. This page is shown below:
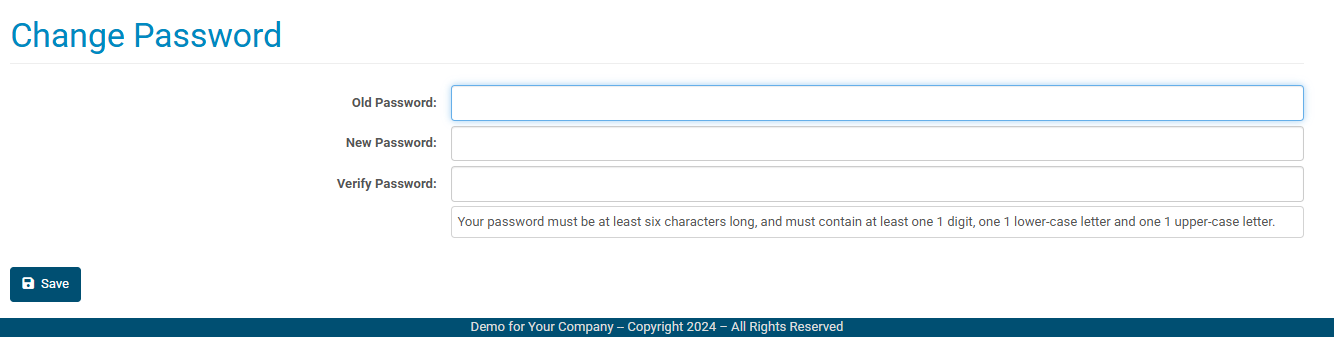
This page requires that the contact enters their old password into the Old Password field, enters their new password into the New Password field, and re-enters their new password into the Verify Password field. After properly doing so and pressing the Save button, the contact will have updated their own password successfully. To see a detailed list of the fields and commands on the Change Password page, navigate to the Change Password Page section of this guide.
Of course, a contact can only use this method if they are already logged into your site and know their previous password. If this is not the case, a contact can still change their password from outside the site using the forgot password method.
The Forgot Password Method
When logging into your Kore Commerce site, there will be a Forgot Password option under the sign-in button. This option is circled in the image below.
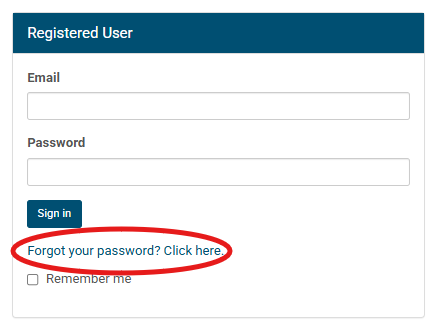
After choosing this option, the contact will be directed to a page that will ask them to input their web-user email. This page will look like this:
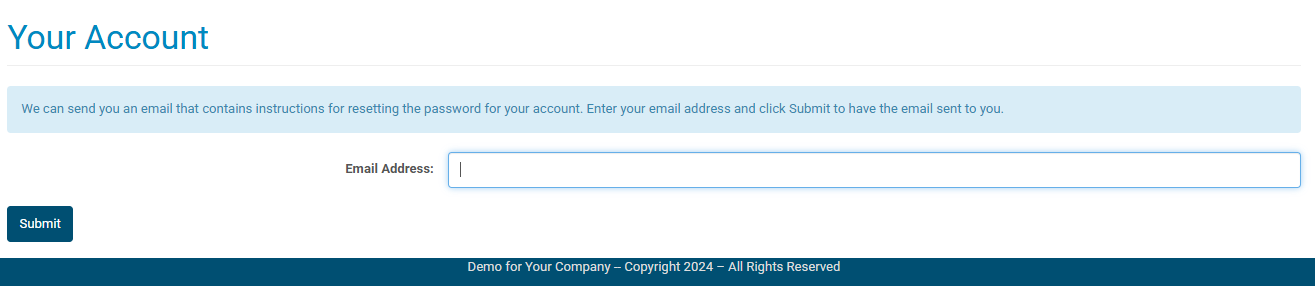
After inputting their email and pressing submit, the contact should receive an email from your system. This email will contain a temporary passcode used by Kore Commerce to reset their password. This email may look something like this:
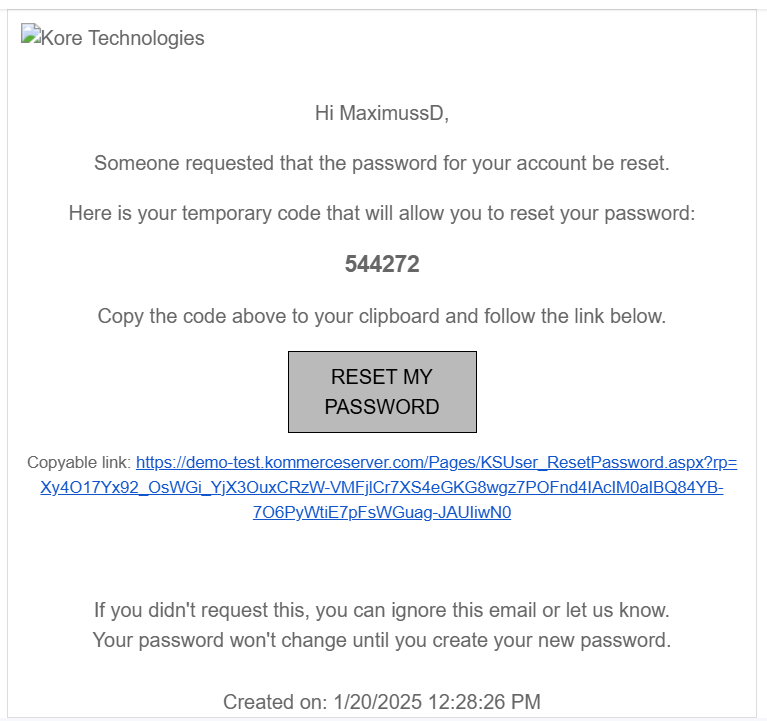
Note: You can learn how to change these emails in the Notification Template section of this guide.
After receiving a password reset email from your site, the contact will be able to enter their temporary passcode on the password reset page. This page will look like the image below:
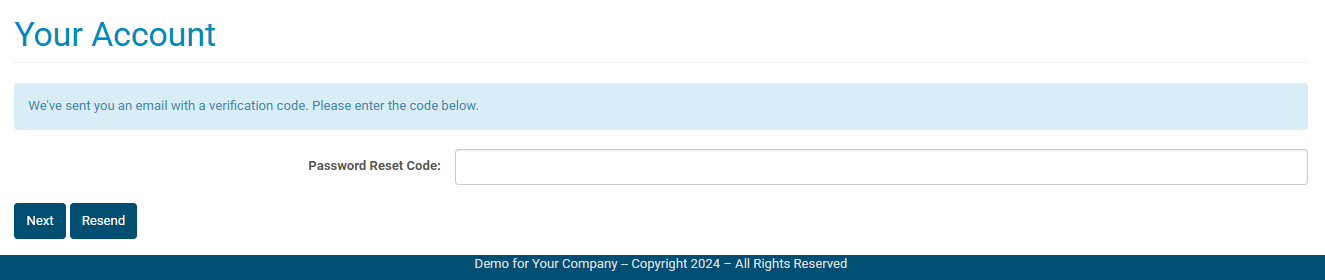
If the contact does not receive an email with a temporary passcode, they will be able to press the Resend button, which will attempt to send another email with another temporary passcode. (Note- Sometimes, emails from your Kore Commerce system may end up in the contacts spam folder. As such, it may advised to encourage a user to check their junk mail for any missing emails.
After entering their temporary passcode, the contact will be taken to a page on which they can reset their password. This page should look like this:
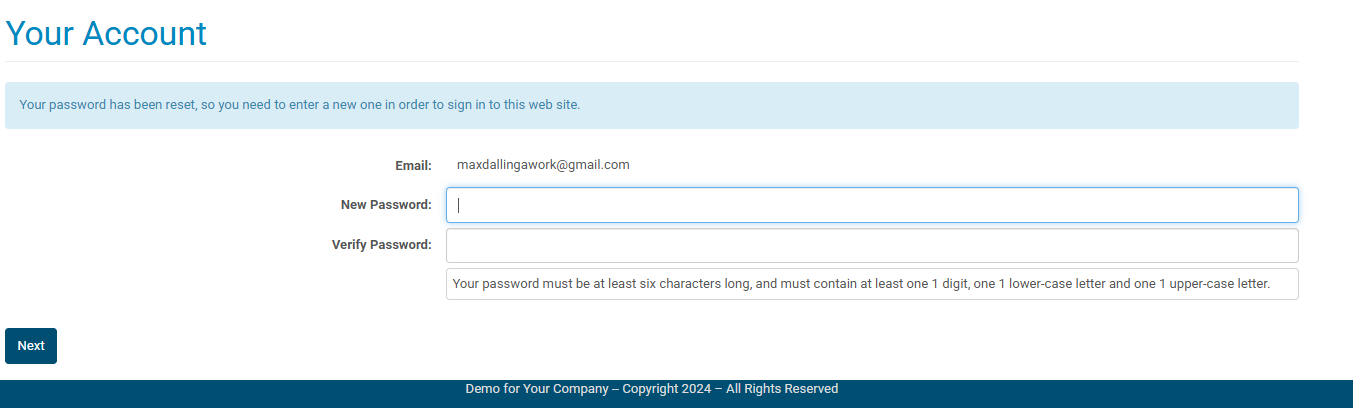
After entering their new password into the New Password field, then re-entering it in the Verify Password field, your contact will be logged into your site and their password will be officially reset.
The Administrator Change Password Method
In some circumstances, a contact may need an administrator to step in and change their password for them.
To manually reset the password of a contact, you can navigate to their Contact Definition page via the Contact Listing page (for more information on finding a contact's Contact Definition Page, please visit the Finding and Editing Contacts section of this guide).
After doing so, you can press the Web Access button to access to the contact’s User Definition page. The Web Access button is circled in the following image:
After getting to the User Definition page, you can press the Set Password button to reset the contact’s password. This button is shown in the image below:
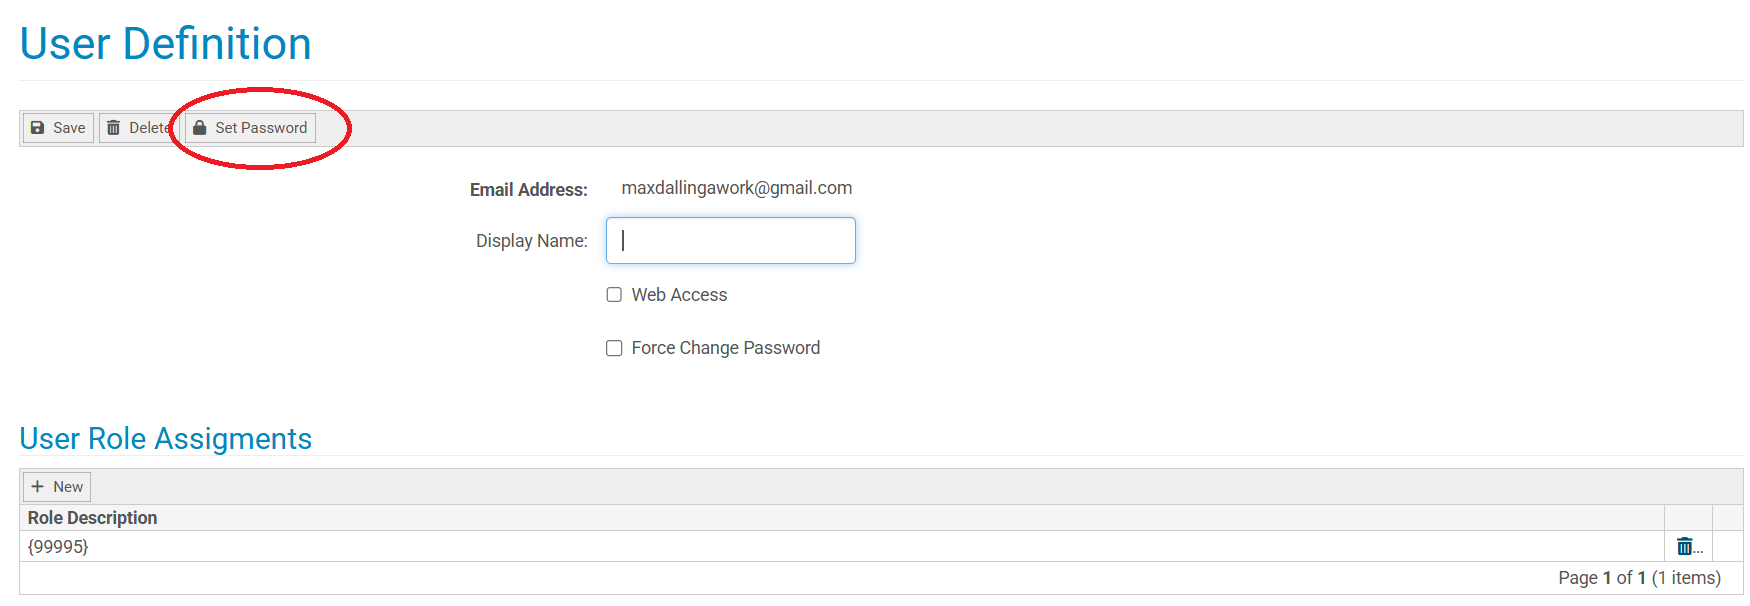
After pressing this button, a screen will appear that will give you the opportunity to change a contact’s password. This will look like the following image:
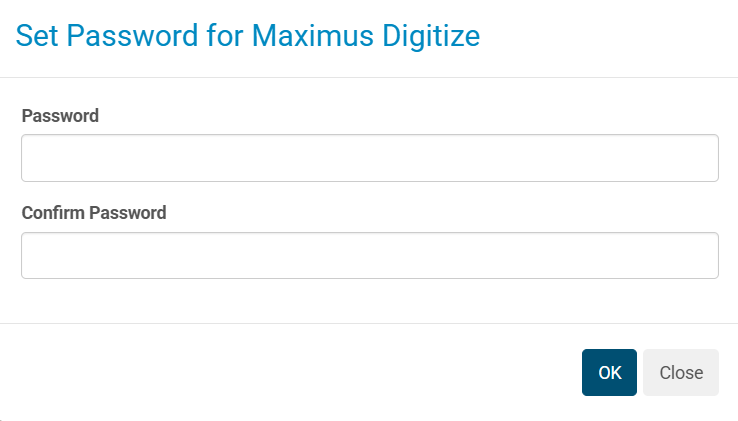
Here, you can set the contact’s password, confirm it, and then press “OK” to complete the process. After this is done, the contact’s password will be changed.
The Administrator Force-Change Password Method
In some situations, you may want to force a contact to change their own password. This means that a contact, after attempting to log into your site, will be disabled from logging into your site.
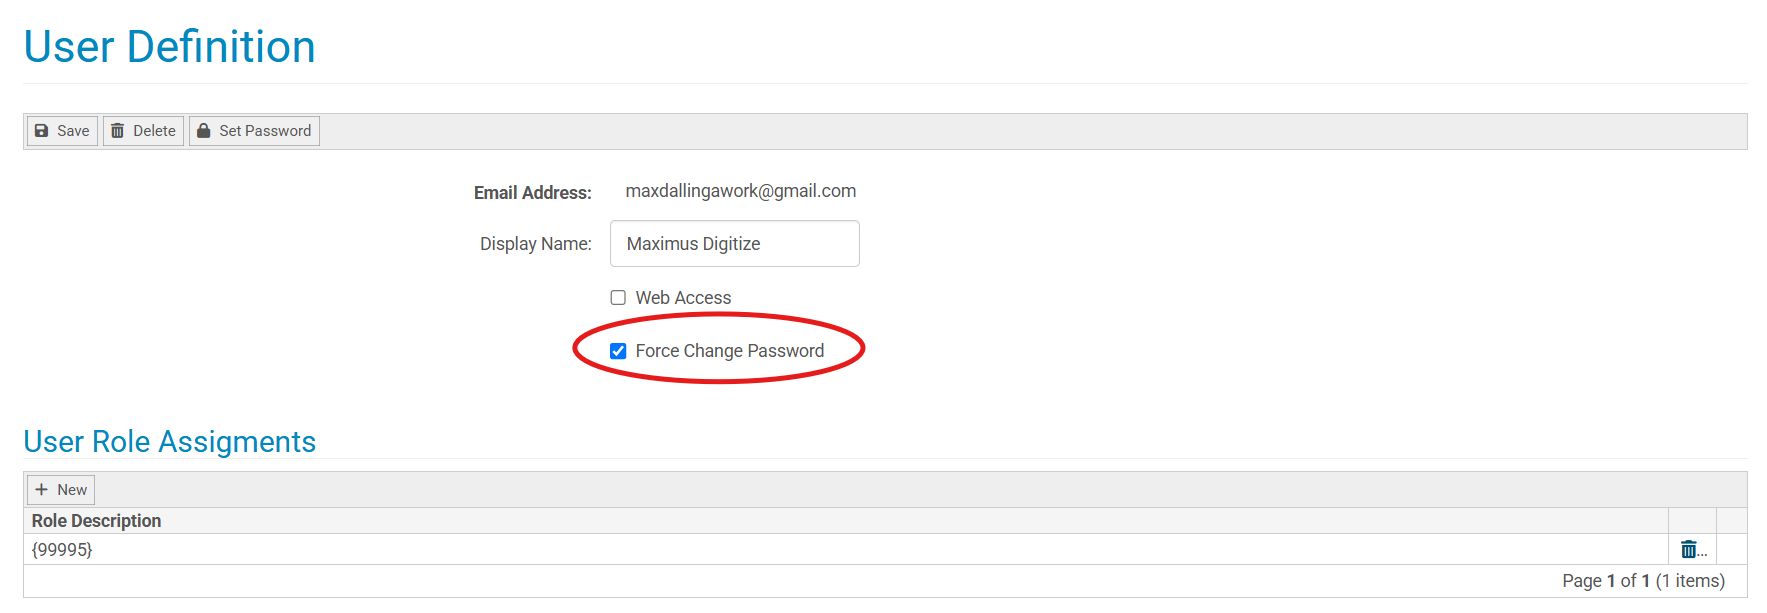
You can manually do this by going to the user definition page, then checking the Force Change Password box. This box is circled in the image below:
After doing so, when the contact tries to log in, they will be directed to the Change Password page. This looks like the following image:
In order to access their account, they will need to reset their password. After doing so, they will be granted access back into your site.
Note- Unchecking the “Force Change Password” will remove the forced password change screen when the user logs in.
Page Summary
There are four methods by which you can change a contact's password (or force them to change their own), including the personal password change method, the forgot password method, the administrator change password method, and the force-change password method.
Each of these methods can be used in different use cases, providing many options to help your contacts change their passwords effectively.
Related Pages
Notification Template Definition